This month i have been lucky enough to get the chance to showcase to you, one of my new loves..
Tim Holtz's new Distress Markers... They are a water based marker, with a brush tip at one end, and a fine tip at the other, these markers come in the same range of 36 colours as Distress Ink and Stain, as well as a white pigment marker (picket fence). They all have the exact same water reactive properties as the inks and stains and are wonderful top play with..
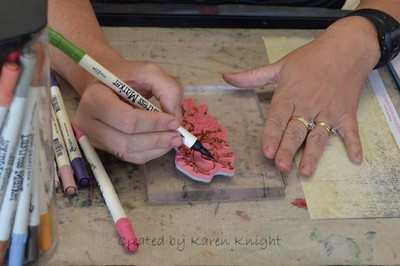
Here is a quick little step by step of how to use these markers to colour a stamp, like most water based markers, you are able to use these colours straight onto the stamp all at the one time... Just remember to colour with light to dark like we did with our inks last month ...
If you do happen to use a light colour after your dark one and get dark ink on your marker, don't worry, give it a bit of a scribble on your craft sheet or a piece of scrap paper, and you'll see the colour blend out, to it's original colour..
So here goes
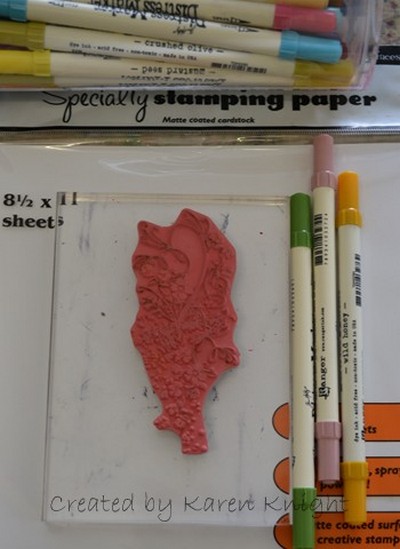
First of all i chose my stamp and the colours i wanted to colour my stamp.
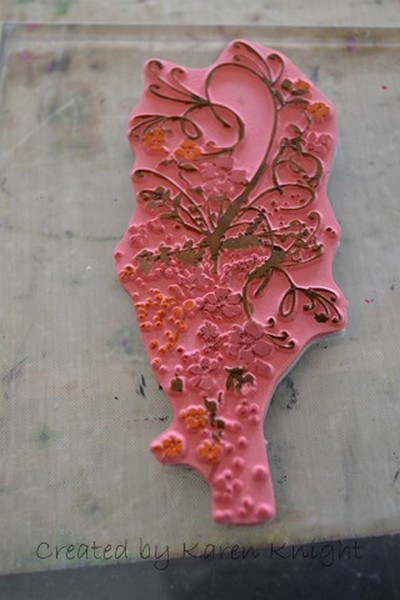
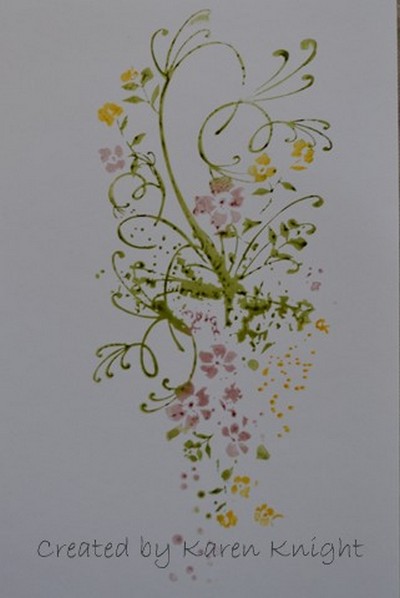
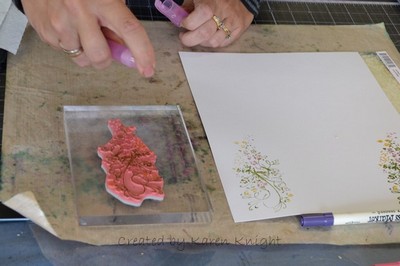
Seeing as this was a floral stamp it was a little easier than some to colour so i didn't really have to worry to much about going light to dark. First i coloured my leaves and stems with peeled paint, then the flowers with either Victorian Velvet or Wild Honey. As you can see it is quite easy to see where you have coloured with them on your stamp. Don't worry about how long it takes you to colour your stamp,
When your stamp is all covered, give it a good couple of huffs with your breath all over the stamp.. helps to re moisten the ink and stamp onto your card or project.
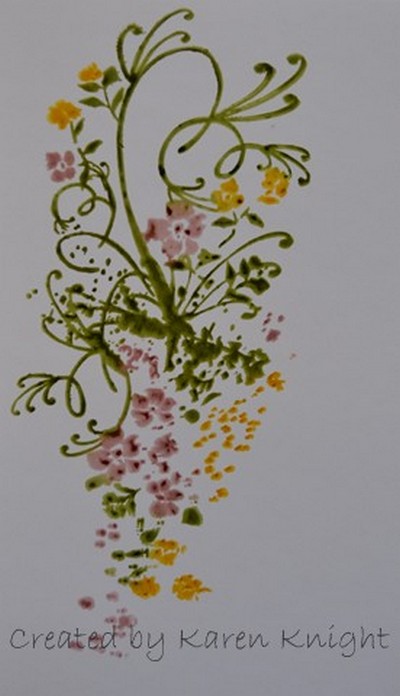
I was able to stamp my image yet again by giving it another couple of huffs and stamping again.. I have used the Ranger Specialty stamping paper to stamp my images on, it gives the most amazing clear and vibrant images.
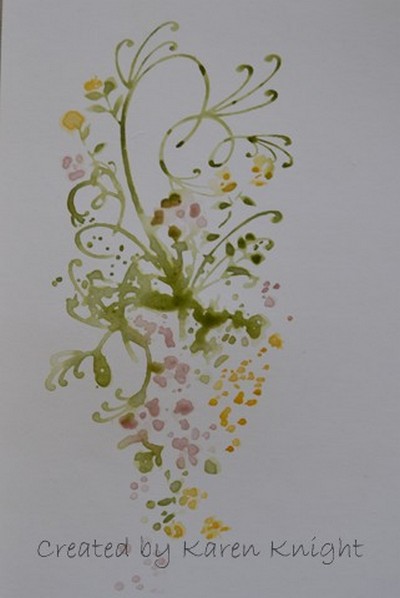
With a bit of a spray with a light mist of water i was able to get a third generation image from my original colouring of my stamp..
which gives you a gorgeous water colour style image
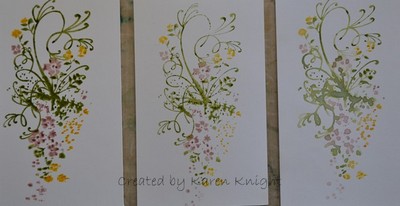
Here is a comparison of the three images in the order of which they were stamped
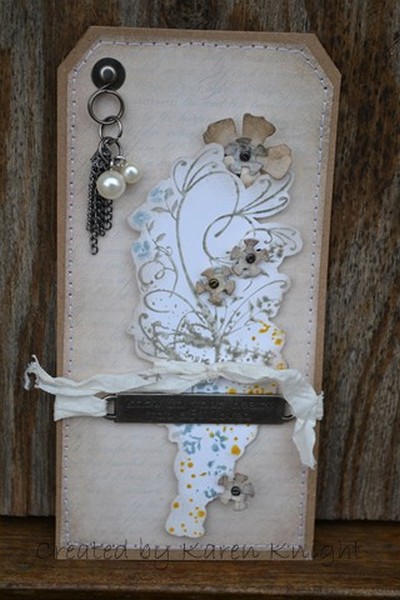
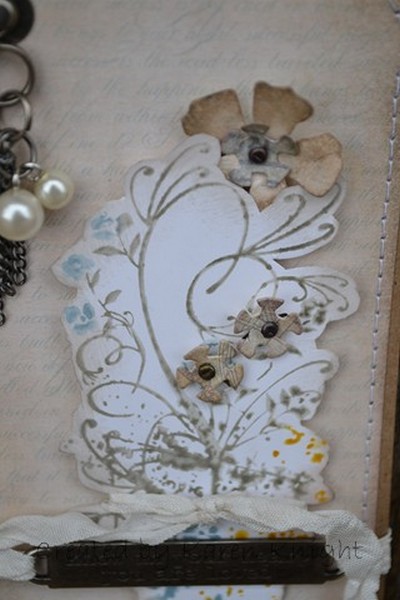
With a different selection of colours, and a few embellishments you can make this stamp look completely different as i have done with this tag
These distress markers have been a long time coming girls but I have to say the wait has been worth it - have been having a play myself and you will see some results next week - they are very cool
Users browsing this forum: No registered users and 1 guest
You cannot post new topics in this forum You cannot reply to topics in this forum You cannot edit your posts in this forum You cannot delete your posts in this forum You cannot post attachments in this forum







 ive been thinking of getting some of these, so thanks