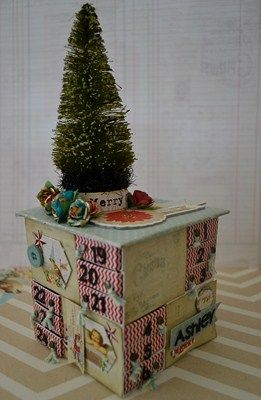
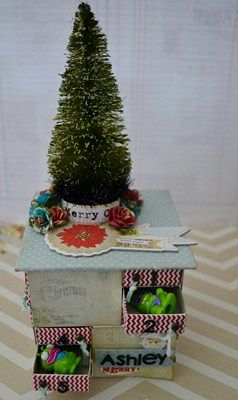
Well i can't believe it's november, time to start getting ready for christmas. So i thought i'd show you a little advent calendar I made for Ash to count down the days until santa comes, starting on Dec 1st.
I do apologise for all the photos, but wanted I to show you how to make this incase you have little ones ( or big ones ) of your own who'd like to count down to santa
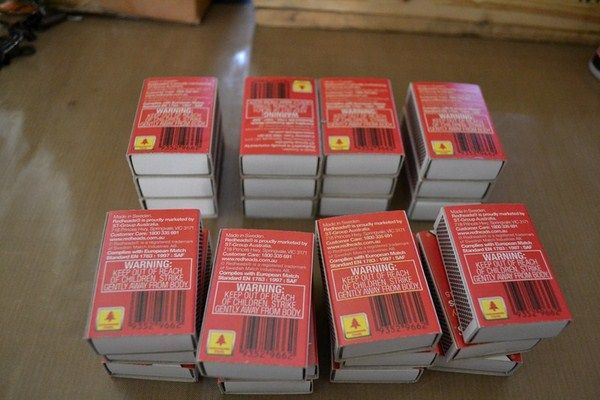
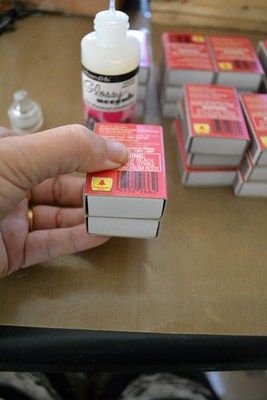
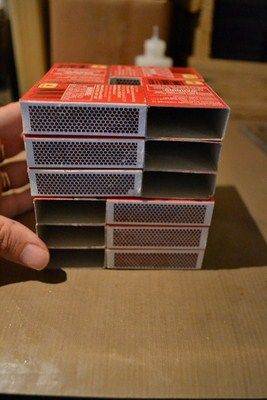
The first step is to empty out 24 matchboxes and stack them into eight piles of three, and glue. ( it would be much faster and easier with a gluegun but mine has decided to stop working ( hmmm perfect christmas wish list item i think...)
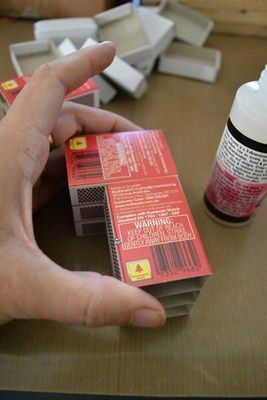
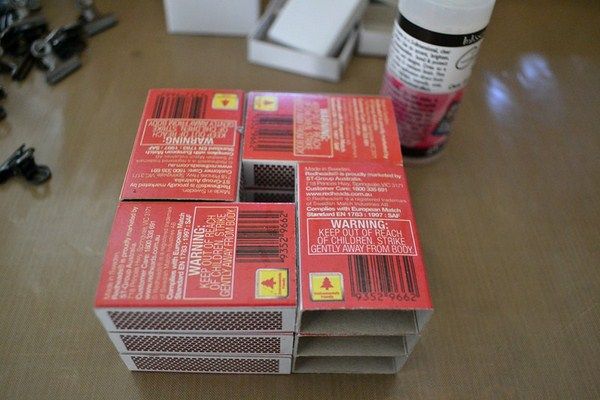
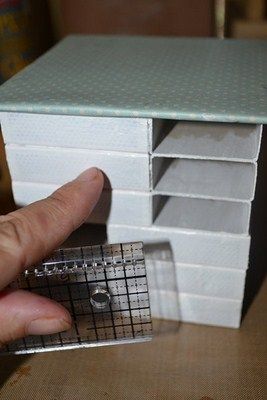
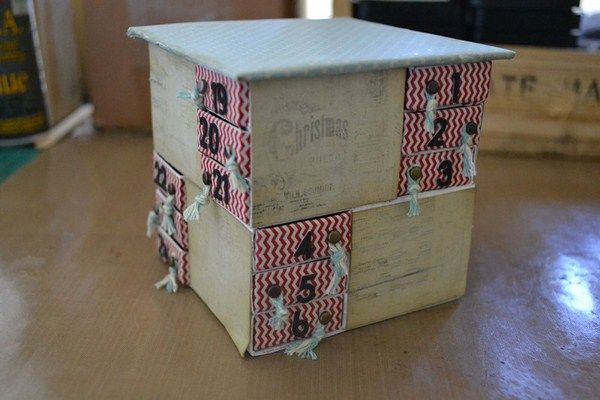
Once your piles of three are stuck together and dried the next step is to arrange and glue them in a box shape, with one lot of openings on each side. Make sure to take the inside of the matchboxes out before you do this step - otherwise your draws make stick and not open. Do this twice , and then stick them on top of one another to form a cube.
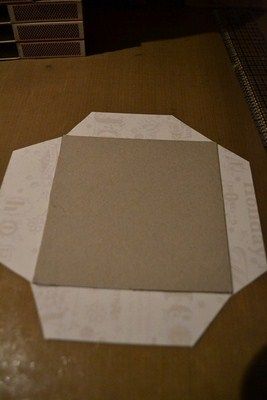
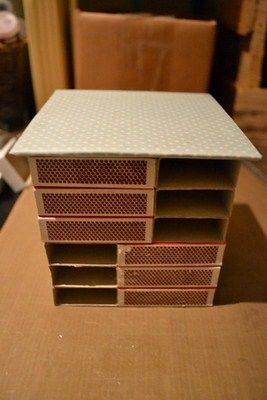
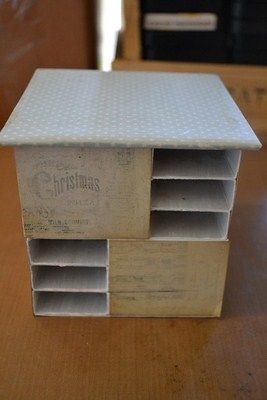
For the top i measured a piece of chipboard to four inches by four inches - about a half inch bigger than the top of my cube, covered it in paper, and stuck it to the top of my cube. To give it a bit of stability I cut a piece of cardboard to size to fit the bottom, and stuck the cube onto this.
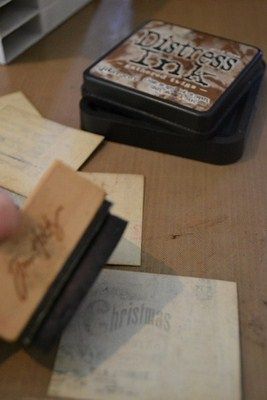
I gave the exposed pieces a quick paint, ( I also painted the inside piece that pulls out of each matchbox, just to seal it) measured the sides and cut pattern paper to size, inked the edges and stuck two pieces to each side of my cube.
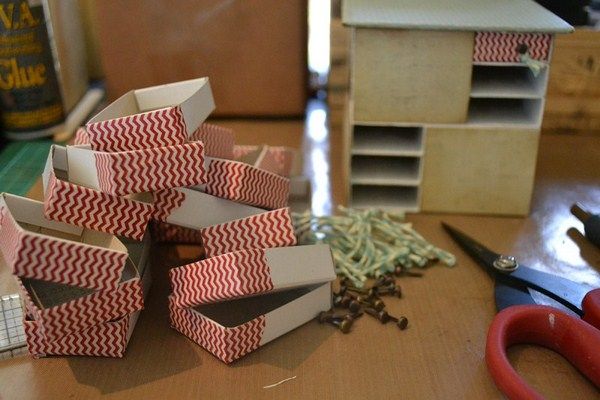
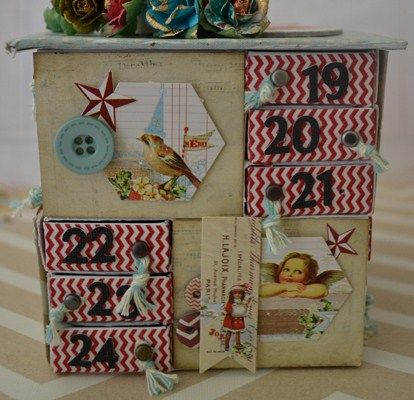
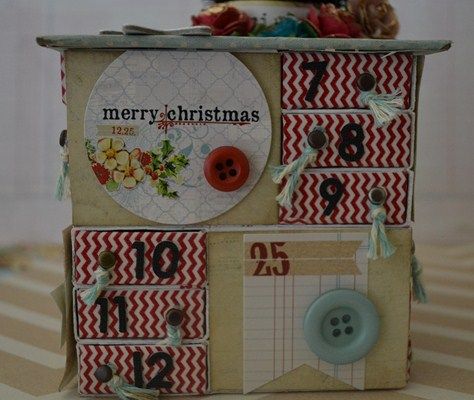
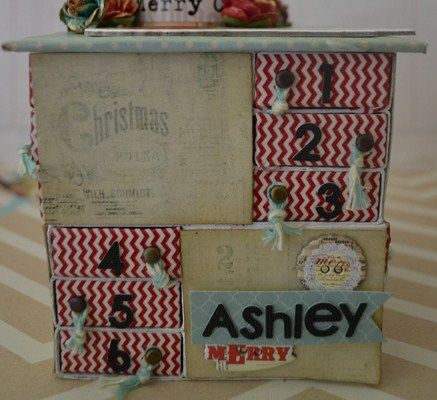
For each draw of my cube, I covered the end in a piece of washi tape, pierced a hole in the front - off to one side - I did twelve on the right and twelve on the left, so I could alternate them. Placed a looped and tied piece of twine around the prongs of each brad, and attached them to the draws to make something to open each drawer with. I then numbered them with small stickers from 1 to 24 and put them back into the openings of each match box. The last thing to do is to decorate each of the sides and the top, and fill it full of little goodies.
For my christmas tree on the top - I have used one of the new gorgeous Tim Holtz Woodlands trees - these are a creamy colour when you get them, I have coloured mine by giving it a spray - using distress reinker mixed with a few drops of water in a mini mister.
Thanks for sticking with me until the end..I'd love to see if you have a go at making one of these!
When you stick your boxes together to make the cubes Cheryl, take the drawer parts out , that way they won't stick.... Some of the boxes are a little tight, but you could fix that by not putting any paint inside the empty spaces.... Otherwise you could do like I did and if they are a little tight, just stretch them very gently with your fingers.... Otherwise you will rip the side of the box and have to fix it with tape ..... Yes I did do this lol , if you don't get the paint in the spaces you'll find though that you shouldn't have this problem...
Joined: Sat Apr 02, 2011 6:14 am Posts: 333 Location: Beautiful Tasmania
Scrapaholic wrote:
When you stick your boxes together to make the cubes Cheryl, take the drawer parts out , that way they won't stick.... Some of the boxes are a little tight, but you could fix that by not putting any paint inside the empty spaces.... Otherwise you could do like I did and if they are a little tight, just stretch them very gently with your fingers.... Otherwise you will rip the side of the box and have to fix it with tape ..... Yes I did do this lol , if you don't get the paint in the spaces you'll find though that you shouldn't have this problem...
Thanks for the heads up, Karen. I now have matches..............
Users browsing this forum: No registered users and 1 guest
You cannot post new topics in this forum You cannot reply to topics in this forum You cannot edit your posts in this forum You cannot delete your posts in this forum You cannot post attachments in this forum