Joined: Thu Mar 17, 2011 8:34 am Posts: 5323 Location: Tasmania
Is anyone setting a special table for a dinner for two on the 14th February? 'Rumour has it' (would make a good movie eh?) that there are many Anniversaries celebrated on this day....
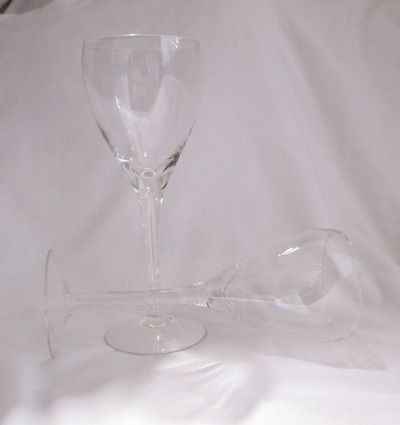
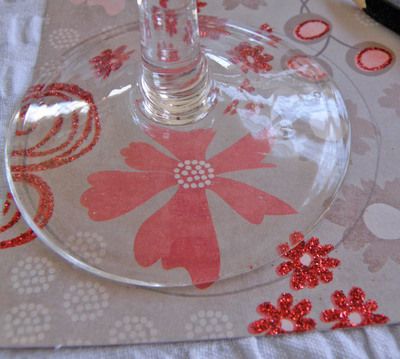
So with that said, I started off with these:
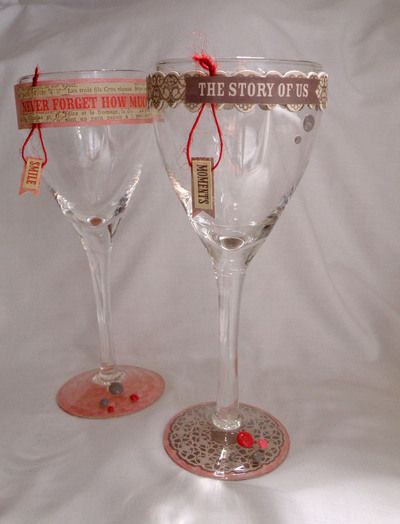
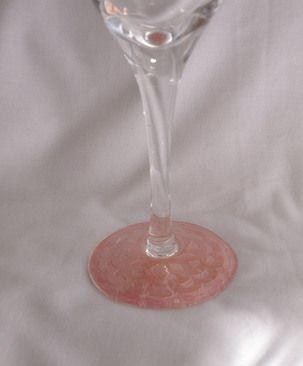
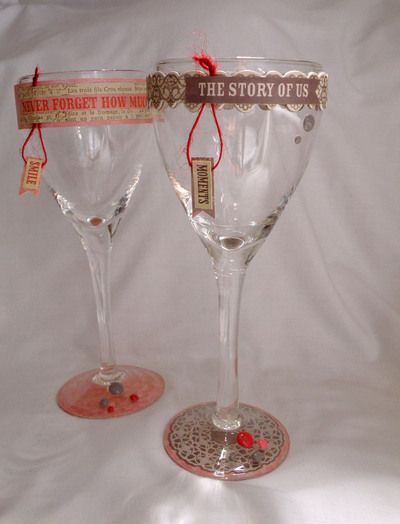
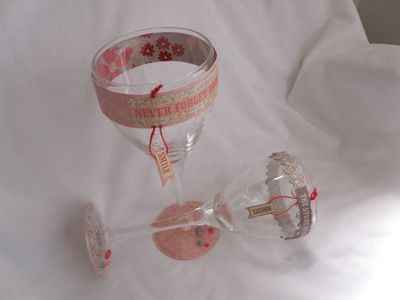
and finished up with these:
Yes, yes....I can hear you...' but how do we wash them'?.... weeeeell, they arent my good wine glasses and I actually picked them up for 50c each today! So go to your $2 store etc! These are for fun - to help decorate your table if its worth something special to you. (They might endure one or two rinse-outs if lucky They could be filled with chocolates to give as a gift??? Oooooor 'could' actually use this idea to dress up a bride and grooms glass for the wedding table.
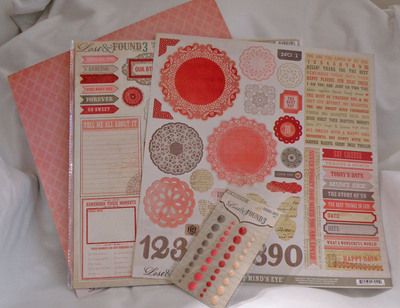
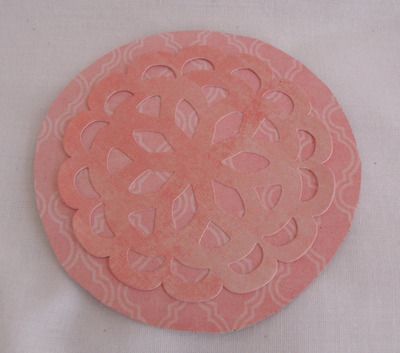
Step 1 We are going to use the pink side of the paper and the pink doily from the sticker sheet. I see this glass as the 'girl' glass
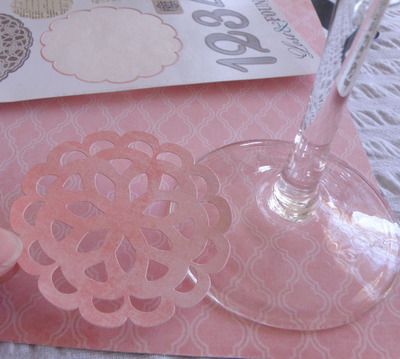
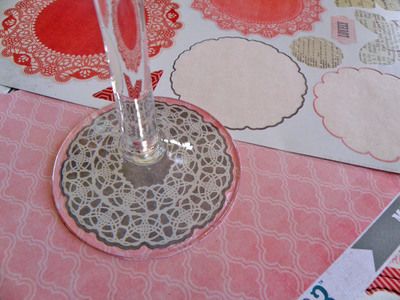
So turn over your pink paper to the patterned side and draw a line around the base of your glass and cut it out
Step 2 Stick the doily to the pink paper
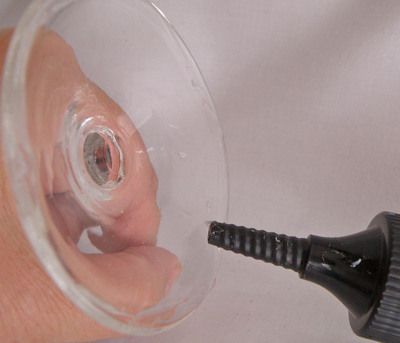
Step 3 Glue around the edge of the base of the glass
Step 4 Adhere the pink paper and sticker to the base of the glass with the sticker facing up
*****edited in after this whole project has been created, photographed and uploaded: Paige took one look regarding the photo above and said - 'You could put little diamontes in there to rattle around and those little hangy things off the stem'... Weeeeeeell why didnt I think of that -so there's more ideas*******
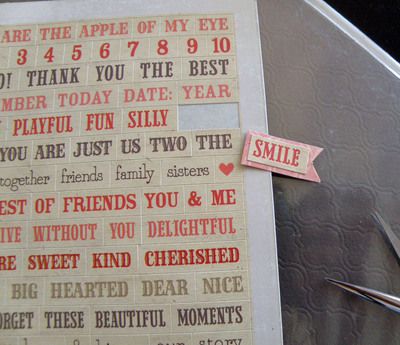
Step 5 Pick out a little sticker (liked the red type to go with the pink) and back it on the pink paper - snip it into a banner-like shape
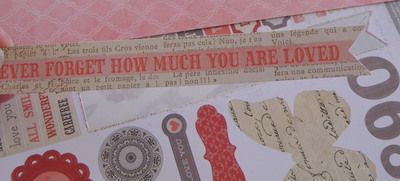
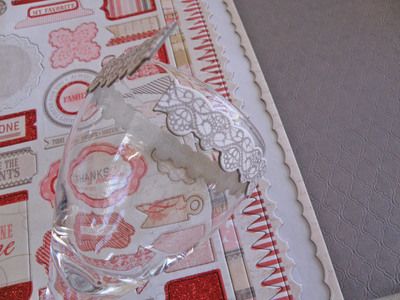
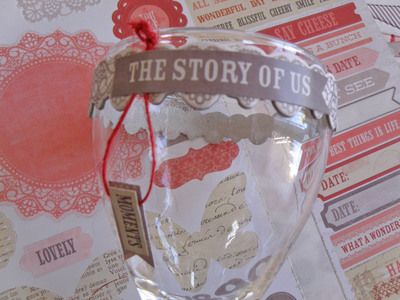
Step 6 Next we are going to use this sticker:
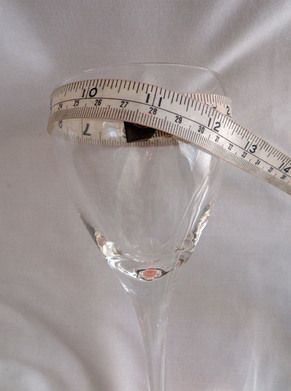
so.... measure the top of your glass:
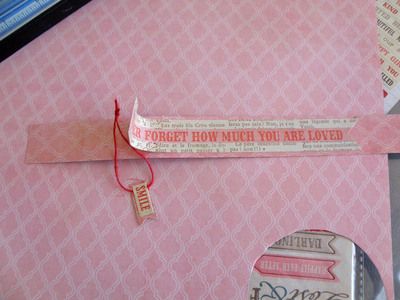
as we need a length of pink paper to back the sticker and string up the little tag as well
to stick to the top of the glass (use a peg to hold it in place)
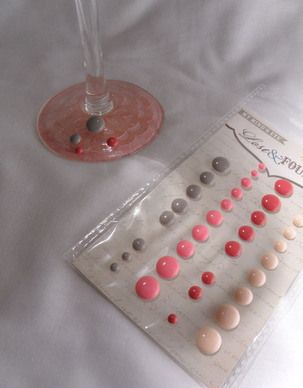
Step 7 Using little enamel dots... decorate the top of the base of the glass:
Thats the end of decorating the 'pink' glass
Now lets do it all again - but a little differently with the 'grey' (boy) glass!
Step 8 Repeat the same process as you did with the pink doily, but instead use the little grey one...
Step 9 This time instead of using stickers and the paper - we are going to use a chipboard sticker strip from Ruby 12x12 chipboard stickers. Oooh this is must easier!!! I wasnt sure if the thick cardboard would wind round the glass okay without tearing or cracking - but it worked a treat! Need to snip a bit of the end off to fit properly around.
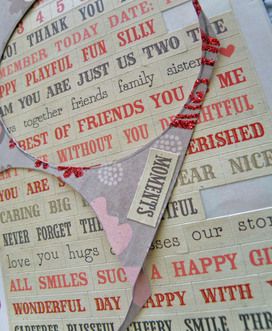
Step 10 This time I used the patterned side of the paper to get a grey backing for the little tag - and used one of the sentiments with grey type
Step 11 Its time to adhere the little tag on with string and put a sticker over the top as well to dress it up.
Step 12 Add the enamel dots to the base, and even up near the top of the glass!
What a great way to add a special touch to a dinner table for a special night in - thanks for sharing Mandy and a special thanks to Paige for her added extra ideas
Post subject: Re: Valentine Decorated Wine Glasses
Posted: Wed Feb 13, 2013 10:09 pm
Design Therapist
Joined: Thu Mar 17, 2011 8:34 am Posts: 5323 Location: Tasmania
LOL Mel.... ah nope - the day will come and go -- I gave the pink one to Hannah - she's 18 now - and weeeeell, there's her first wine glass (not that she likes wine!) But she loved the decoration and sentiment all the same.
Users browsing this forum: No registered users and 0 guests
You cannot post new topics in this forum You cannot reply to topics in this forum You cannot edit your posts in this forum You cannot delete your posts in this forum You cannot post attachments in this forum